Sunday, January 23, 2011

Etching Bevels


Occasionally it's fun to etch an image onto glass, this can be done as a stand alone ornament (as shown here) or it can also be used in a stained glass panel simply by foiling or leading around the etching and adding to a stained glass design.

Etching is fairly simple. You can use a photograph, as shown, or simply draw your design freehand. Even with a photograph you will find that while it's helpful for outlining your subject and placement of features, the underlying photo will be consistantly covered with glass dust. With that being said, it's often easier for me to use the photo as a guide for creating the initial sketch, but performing the details of the piece freehand. You will also want to work with a dark piece of fabric, a piece of dark construction paper or other dark material under the piece of glass so that you may easily be able to see what you are drawing.

A few safety concerns, you will want to use a dust mask while working with etching, particularly if you will be using an electric etching tool. Some people have devised methods of a water drip or dust collectors to remove the glass particles from the work areas.

I use a Dremel tool with a flex shaft attachment to etch with. Google www.Dremel.com for more information regarding the attachments and supplies you can purchase. There are a variety of tools that will do the job, from hand scribes to dental drills. It's another interesting and fun way to dabble with glass. So grab a piece of glass and etch away..you never know it could be habit forming!

One good site to learn more about etching is this one: www.lesleypyke.com

Ms. Pyke creates very outstanding art on glass and her site holds a wealth of knowledge. She may also be found on Facebook.

Saturday, January 22, 2011

Final Lit Image of TailGate's Sign

Latest Finished Project ~ TailGate Sign


I recently finished a panel for a local business that was a copy of their logo. The sign is TailGate, which is a restaurant/pub located not far from my shop. It was going to be hung in a fairly dark environment so I felt it would be best to make it into a lit shadowbox. The shadowbox would better display the stained glass.

The box is made of 3"x 1" pine, with supports just inside the front to hold the glass in place. The glass is held in place in the front with clear plastic cabinet clips placed at or very near the solder joints. There is an 31" LED light installed in the top of the shadowbox to illuminate the panel. It's always a good idea when building a panel that is intended to be placed in a shadowbox to use an opal type glass around the outside edges of the glass at least. In this case the entire project was made with opal glass. This way you will not be able to easily view the light source.

I made a hinged back to go on this box so that the owner would easily be able to access the interior of the shadowbox to change the light source out. I also painted the interior of the box white to further diffuse the light.

I hope you enjoy seeing this latest project! Denise

Sunday, October 17, 2010

Tree Frog Panel Finished


This is a design I posted about a while ago. I finally got around to creating the panel. I think it turned out quite well. The diameter of the piece is 13" x 18", I used Youghiogheny glass in it primarily, maybe a little Spectrum and other scraps of other manufacturers I had hanging around. It's framed in a fairly wide leaf lead, and the hangers are actually a sling that goes from the left hook around the bottom of the piece and attached at the point that the right side hook is attached. The leaf of the lead is then burnished to fold in on itself. It's a safer alternative for hanging a round or oval panel that has a lead frame, as lead stretches.

Here are a couple of new designs


One is a sight frequently seen in the Maine woods, Mr. Moose. I call this one "My Maine Man".

The second pattern is none other than Portland Head Light, which is located in Cape Elizabeth, Maine. It is one of the, if not the, most photographed lighthouse in the U.S. I took many pictures the day I visited Fort Williams Park, which is where the lighthouse is located. The light was commissioned by President George Washington and is still free to visit at beautiful Fort Williams Park.

Saturday, April 24, 2010

More Plating images


Just a few more...

Plating ~ How to


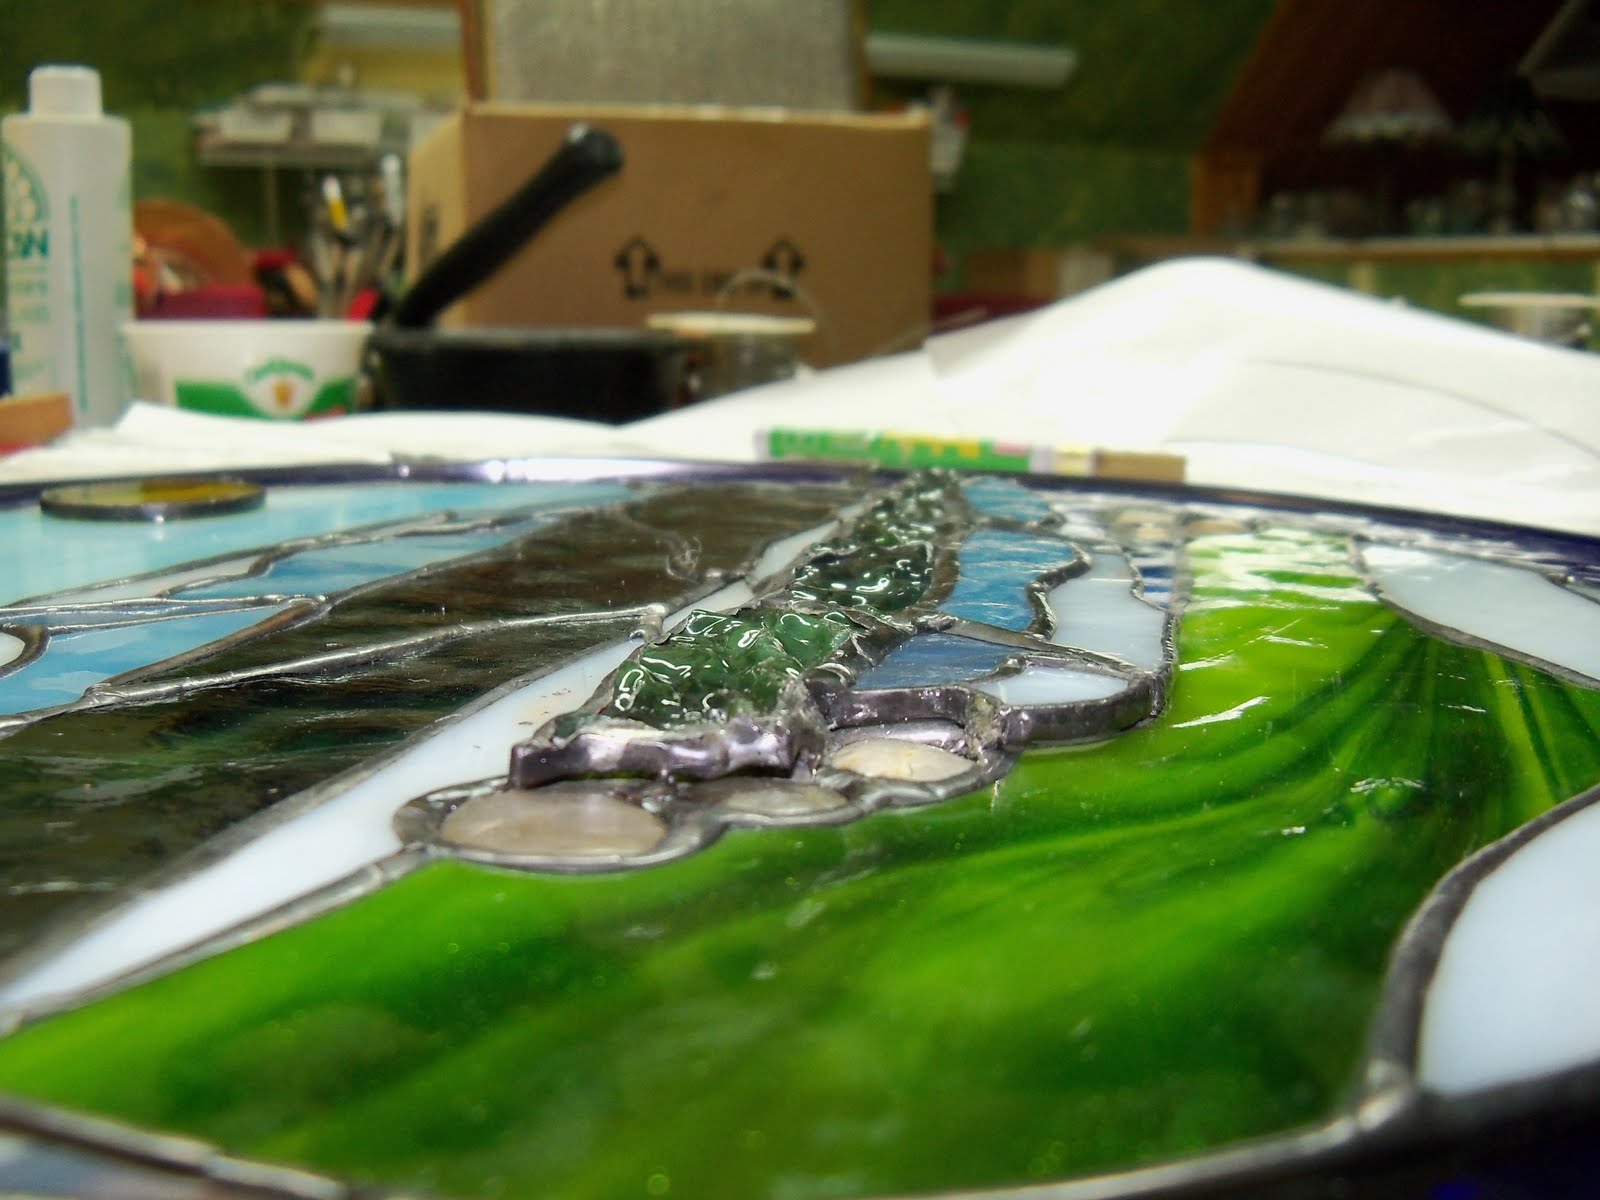
I'll post a few pics here of the process of plating a piece of stained glass. Mind you that my plating involved reflection of mountains in water and the sun, and leaves on the birch tree. And also I'll qualify this by telling you that I don't do plating all that often, in fact, this is probably the first, but definitely not the last panel I'll plate.

I will give you this tip, when plating finish your panel completely, apply patina, clean and polish PRIOR to adding your plating. You will not be able to clean between the pieces of plating and the panel after it's put together. And many artists that use plating frequently will tell you that all edges of the plating need to be soldered so that nothing can creep under the plating..dust, etc. This I did not do on this panel as there was nothing to solder to the 3/4ths of the sun and also a portion of the water was not solderable.

I'll let the photo's speak for themselves, but am always open to questions.